Crafting Comfort: Fun & Easy DIY Sectional Sofa Slipcover Projects
Crafting Comfort: Fun and Easy DIY Sectional/Corner Sofa Slipcover Projects
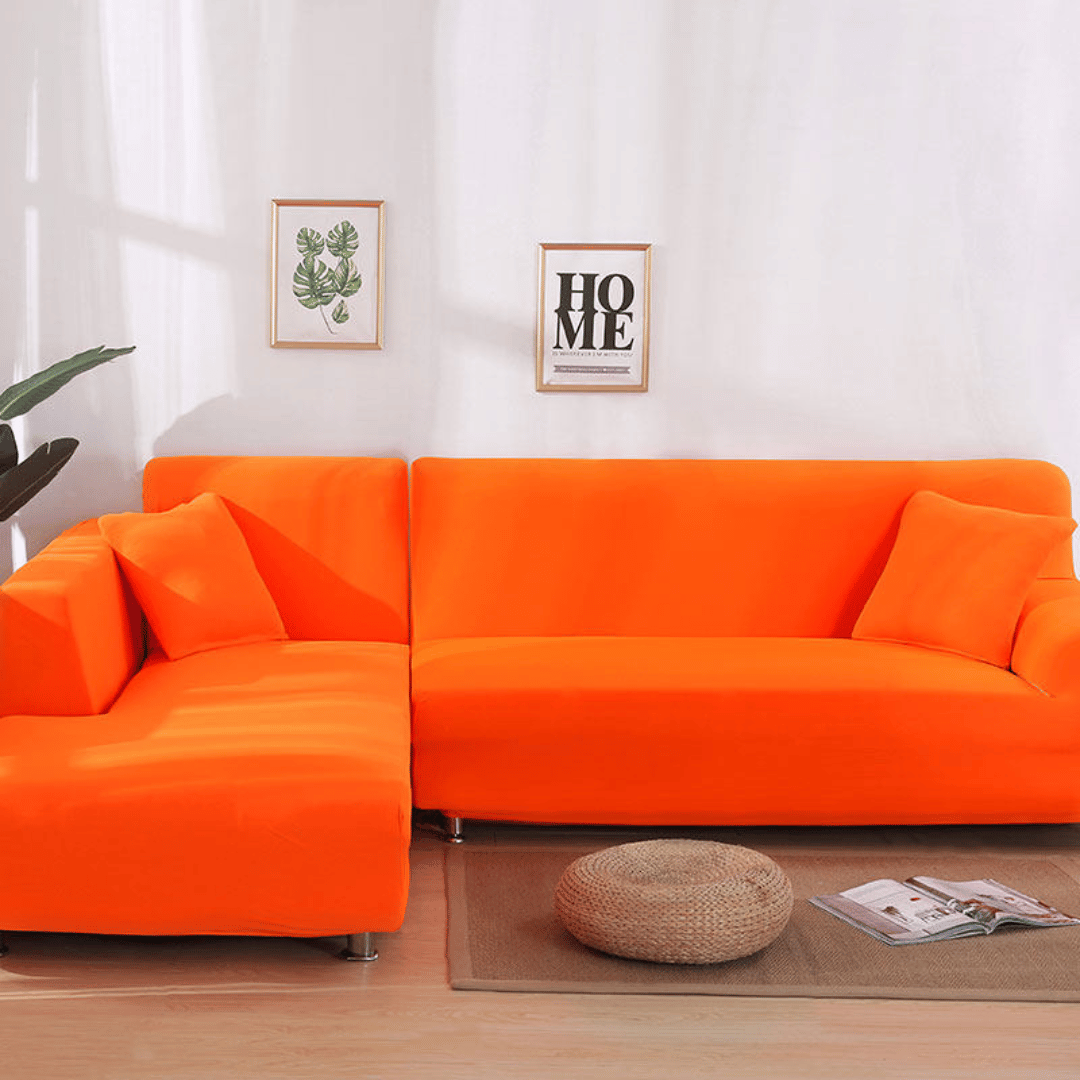
Greetings, DIY enthusiasts and creative souls! Are you ready to infuse your sectional sofa with a personalised touch that reflects your unique style? In this part of our series, we’ll explore fun and easy DIY projects to upgrade your sectional or corner sofa with custom slipcovers. From fabric choice to simple sewing hacks, get ready to turn your living space into a canvas of comfort and creativity.
Contents
The Basics of DIY Slipcover Crafting: A Beginner’s Guide
You don’t need to be a professional upholsterer to give your sectional sofa a fresh new look. With the right fabric, a few tools and some patience, you can create a custom slipcover that looks stylish and feels comfortable.
1. Choose Your Canvas: Selecting the Right Fabric
Q: How do I choose the perfect fabric for my DIY slipcover?
A: Think about both aesthetics and practicality. Cotton and linen offer a relaxed, casual look, while velvet and faux suede feel more luxurious. If you have kids or pets, choose something durable and easy to wash.
- Cotton / cotton blends: Breathable, easy to work with, great for everyday family spaces.
- Linen-look fabrics: Light, airy and elegant – ideal for a calm, neutral scheme.
- Polyester / spandex blends: Stretchy and forgiving, perfect if your sectional has curves or unusual shapes.
- Velvet / faux suede: Cosy and premium for a more luxurious finish.
Start your crafting journey by picking a fabric that suits your lifestyle and complements your existing decor.
2. Measure Twice, Cut Once: Accurate Sizing for a Perfect Fit
Q: Why is accurate measuring crucial for a DIY slipcover?
A: Precise measurements are the foundation of a polished, professional result. Measure each sectional piece separately, including arms, corner units and chaises.
Key measurements to take:
- Width of each seat section (including arms if covered).
- Depth from the back to the very front of the seat.
- Height from the floor to the top of the backrest.
- Any special features like chaises, rounded arms or extra-deep seats.
Write everything down clearly and add a small allowance (1–2 cm) for seams. This will help your slipcover fit like a tailored garment rather than a loose sheet.
DIY Project Ideas: Unleashing Your Creativity
1. Patchwork Paradise: Creating a Quilted Slipcover
Q: How can I incorporate patchwork into my slipcover design?
A: Collect fabric scraps or offcuts in complementary colours and patterns. Sew them together in panels or blocks, then use those panels as your slipcover pieces.
Patchwork is a brilliant way to repurpose leftover fabrics and create a unique, cosy look. Whether you go for neat geometric blocks or a more relaxed, mismatched style, your sectional becomes a patchwork paradise where every square tells a story.
2. Tassel Touch: Adding Bohemian Flair to Your Slipcover
Q: What’s a simple way to bring a bohemian vibe to my slipcover?
A: Add tassels, pom-poms or fringing to the bottom edge or along the seams. It’s an easy, low-effort detail that instantly changes the mood.
Attach tassels to the corners, or run a row of mini tassels along the front edge of your sectional. This small touch adds movement and personality, creating a relaxed, boho feel without overpowering the design.
3. Colour-Block Corners: Highlighting the Shape of Your Sofa
Use colour blocking to emphasise the shape of your sectional. Choose one colour for the main seats and a contrasting shade for the corner or chaise. This works especially well with modern, simple shapes and can make the layout of your sofa feel more intentional and stylish.
Step-by-Step DIY Guide: Craft Your Own Slipcover
1. Pattern Perfection: Creating a Template for Precision
Q: Do I need a pattern for my DIY slipcover?
A: Yes – especially for sectionals. Use inexpensive muslin, calico or an old bedsheet to create a “mock-up” you can pin and adjust on the sofa.
Drape the fabric over one section at a time, pin along the edges and seams, then mark with a fabric pen where you will sew. Remove the mock-up carefully, lay it flat and use it as your pattern for cutting the real fabric. This step saves mistakes and wasted fabric later.
2. Sewing Essentials: Mastering Basic Stitches for a Seamless Finish
Q: Can I sew a slipcover without advanced sewing skills?
A: Absolutely! Straight stitches and zigzag stitches are enough for most DIY slipcovers. A basic sewing machine is ideal, but you can also work by hand if you’re patient.
- Use a straight stitch for main seams.
- Use a zigzag stitch or overlock stitch to finish raw edges and prevent fraying.
- Press seams with an iron for a flatter, more professional look.
Master these basics and you’ll be well on your way to a DIY slipcover that looks polished and feels durable.
No-Sew and Low-Sew Options: DIY for Absolute Beginners
If sewing isn’t your thing, you can still refresh your sectional with clever no-sew or low-sew ideas:
- Fabric + tucking tools: Use large fabric panels and tuck them tightly into seat gaps, securing with foam rods or non-slip grips.
- Fabric tape or fusible web: Hem raw edges using iron-on tape instead of stitching.
- Velcro strips: Add Velcro to hold pieces in place under the sofa or along the back.
These methods are great for renters or anyone who wants a temporary but stylish refresh without fully committing to sewing a complete cover.
Shiny Sofas – Your DIY Companion
As you dive into DIY slipcover projects, Shiny Sofas is here to be your companion. Browse our range of ready-made slipcovers for inspiration, to mix with your DIY designs, or to use as a base you can personalise.
If you’d like ready-to-fit options alongside your handmade creations, explore:
- Standard Sofa Slipcovers: https://shinysofas.co.uk/collections/standard-sofa-slipcovers
- Recliner Sofa Slipcovers: https://shinysofas.co.uk/collections/recliner-sofa
- Sectional / Corner Sofa Slipcovers: https://shinysofas.co.uk/collections/sectional-sofa-covers
In our next post, we’ll shine the spotlight on renowned brands that lead the way in crafting top-notch standard sofa slipcovers. Your journey to sectional perfection continues!
Other guides you may like
-
 Sizing & fit guideHow to Install a Recliner Sofa Slipcover | UK & USA Fitting Guide (with Video)
 -
 Sizing & fit guideHow to Fit a Sofa Cover (UK & US 2026 Guide): The Complete Step-by-Step Tutorial
 -
 Sizing & fit guideSofa Throw Covers UK: The Complete 2026 Guide for Fit, Styling & Protection
 -
 Sizing & fit guideThe Complete 2026 Guide to Sectional & Corner Sofa Slipcovers – Styles, Fit, Installation, Care & DIY Ideas
 -
 Sizing & fit guideSofa & Couch Slipcovers 2026: The Complete Fitting, Measuring & Installation Guide


